SAORI Silk Scarf

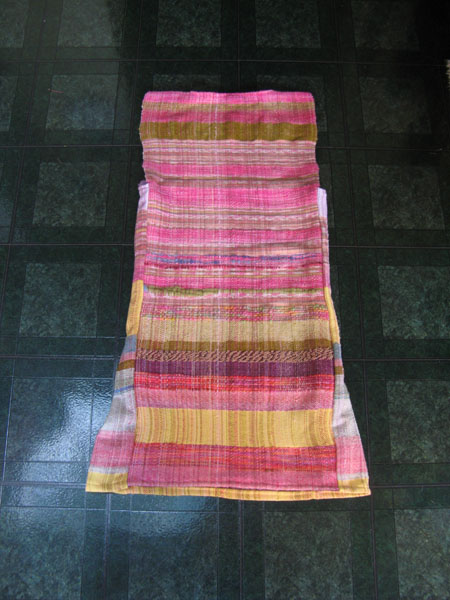
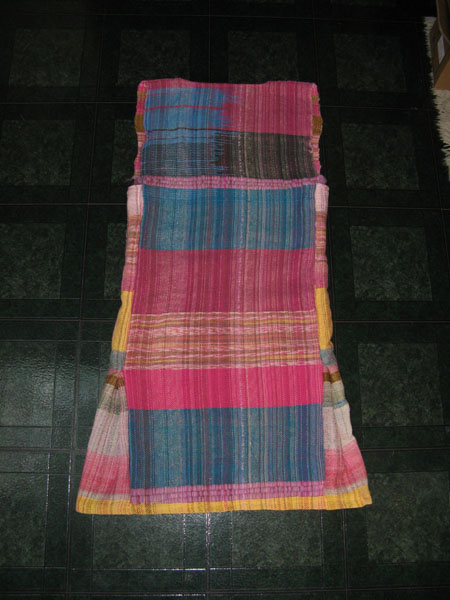
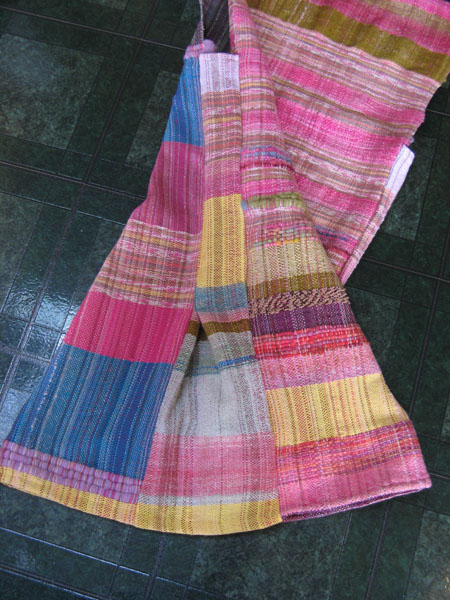
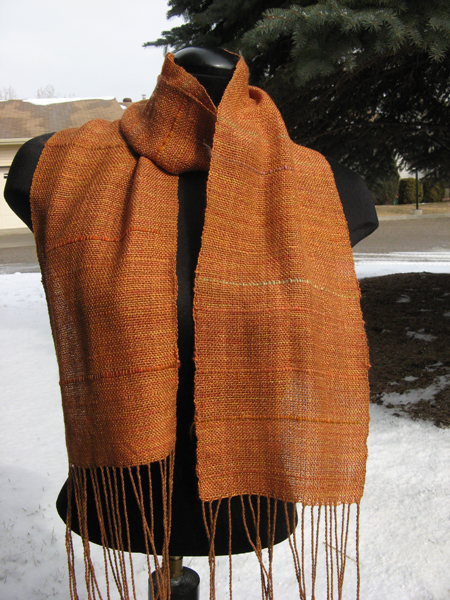
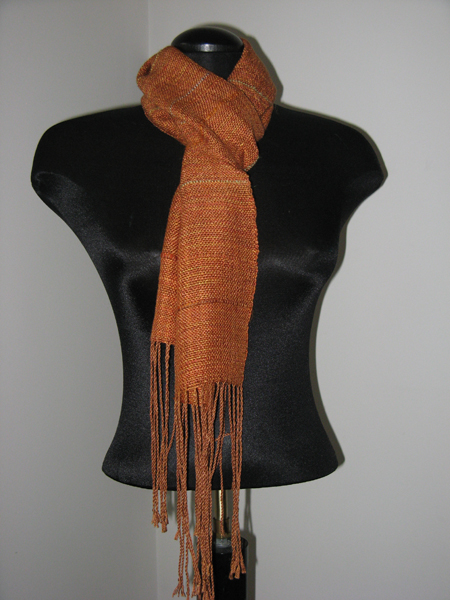
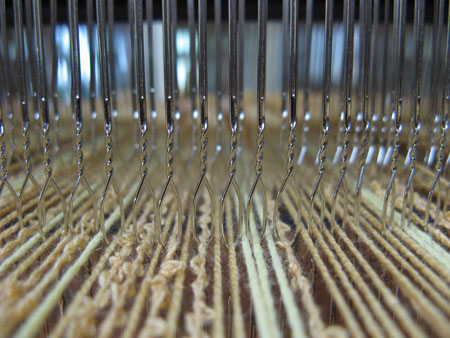
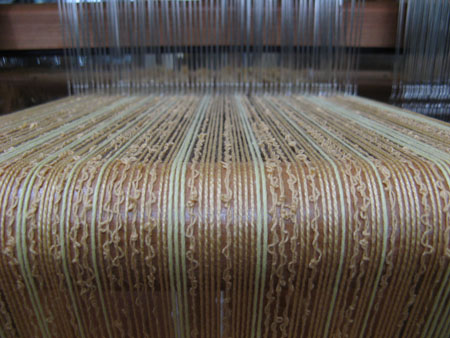
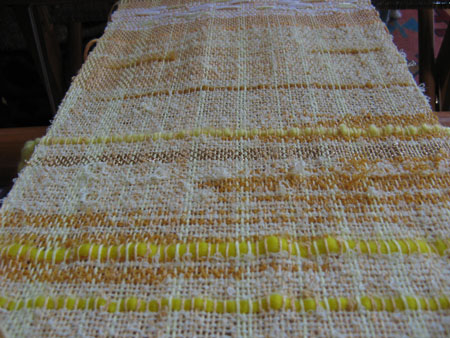
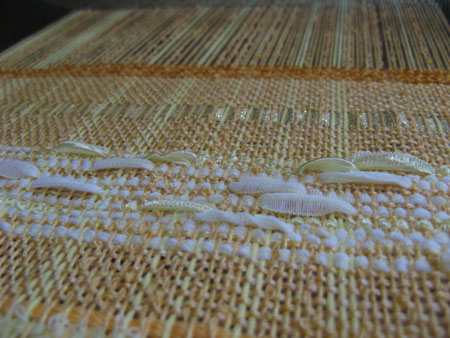
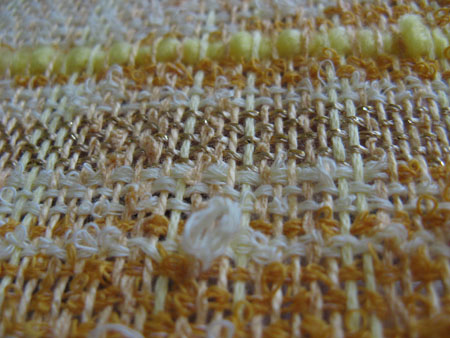
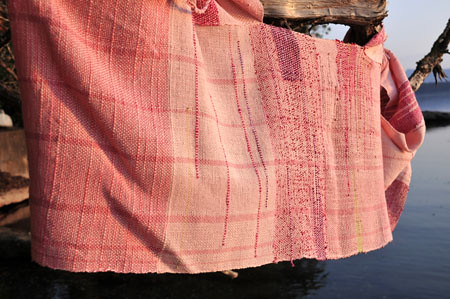
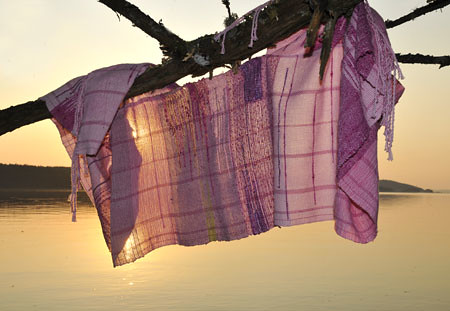
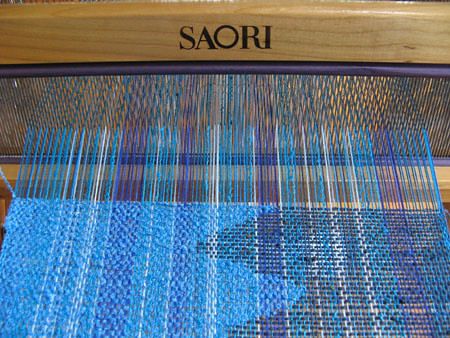
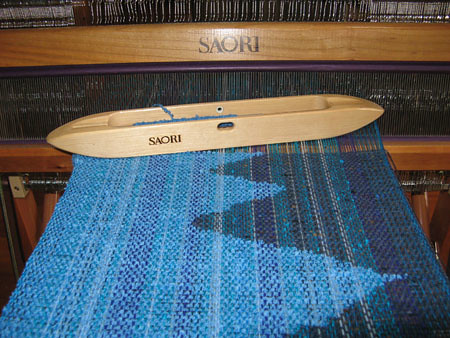
I took a break from weaving my Directions banners to weave a scarf for my mom’s birthday. When she was here last she chose a yarn that she wanted for the weft of the scarf – it was a beautiful Umaj sock yarn (merino wool and bamboo) from Gaia’s Colours. For the weft, I chose silk yarn from Treenway Silks which was great as I haven’t worked with silk before.

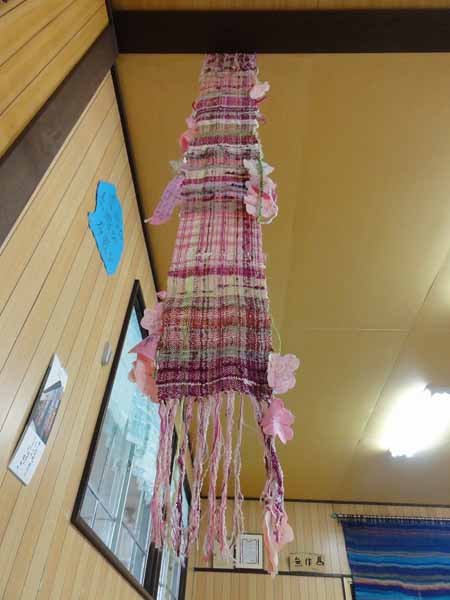
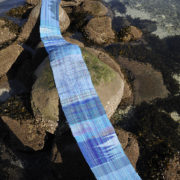
Here is the finished scarf…

SAORI Scarf

SAORI Silk Scarf

It is so light and has a wonderful feel from the great yarns.

And now, I’m back to my Directions series with East/Yellow. East represents new beginnings, childhood and spring. The warp is wound and ready to go…

And the weaving begins…

Happy Weaving,
Terri

My website: www.saorisaltspring.com

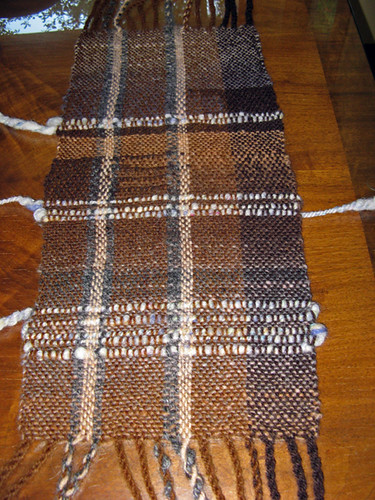
During my last weaving retreat, one of the weavers asked about weaving with wool, using wool for a warp and weft, felting, etc. So, I put on a wool warp in browns for some samples.

Well, the samples turned into some harvest runners – which were perfect for hostess gifts at Thanksgiving.

Saori Harvest Runner

Happy Weaving,
Terri

My website: www.saltspringweaving.ca

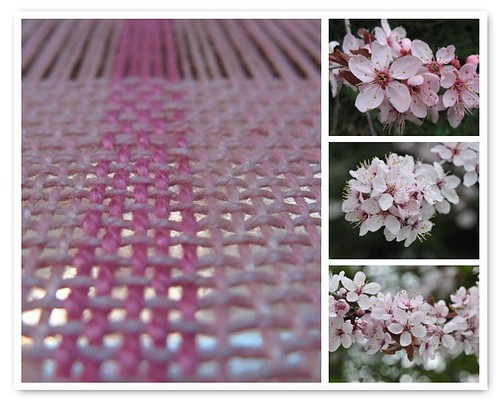
I finished my first Cherry Blossom weaving a while ago, but was waiting for the stars to align a beautiful Salt Spring Island sunset to take some photos.

waiting

Finally, we had the day the time to go and enjoy the sunset. It helped that the next day I had to take it in to be on display for the ArtCraft show!

Salt Spring Island Sunset - Southey Point

Wow!

Well, before the sun set, Alan took some photos of the ‘Cherry Blossom Shrug’.

Now, more cherry blossom warp to work on, so more to come. I already have the next warp made for my Project Spectrum East – yellow ready to go.

Weave every day – that should do it!

Happy Weaving,
Terri

My website: www.saltspringweaving.ca

Tom and Tanya came for a visit in February – to get to the coast…

Salt Spring Island

SSI

to experience a bit of springtime – they thought. (Spring has been a bit late this year – oooh that must be ccccold!)
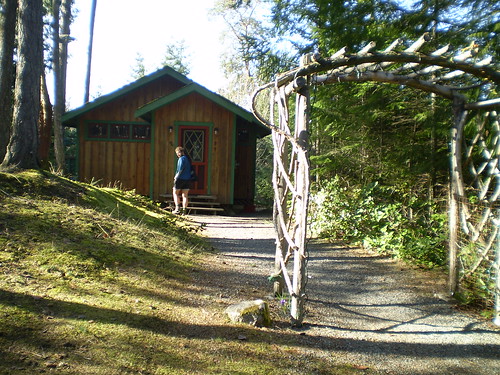
And to spend time at Honeysuckle Cottage….

Honeysuckle Cottage

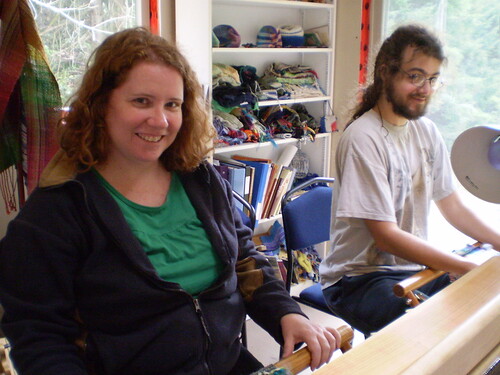
While they were here Tanya was introduced to Saori weaving …

t

She and Tom spent time at the studio weaving together.  Two different styles – both amazing….

I loved it!! And so did they…..

Happy Weaving,
Terri

My website: www.saltspringweaving.ca

Learn to Weave on Salt Spring Island, BC.

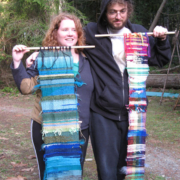
I have been invited to create a banner for an exhibit in New York City!

The idea is to have banners hung from the ceiling like a waterfall. Each banner will be a minimum of 6 metres long. The exhibit will be in a gallery and there will be dance performances held under the ‘waterfall’ of banners.

Wow – I’m excited to be part of this. The time is short, as the exhibit opens on March 1 and I have just been working on preparing the warp and will be starting to weave.

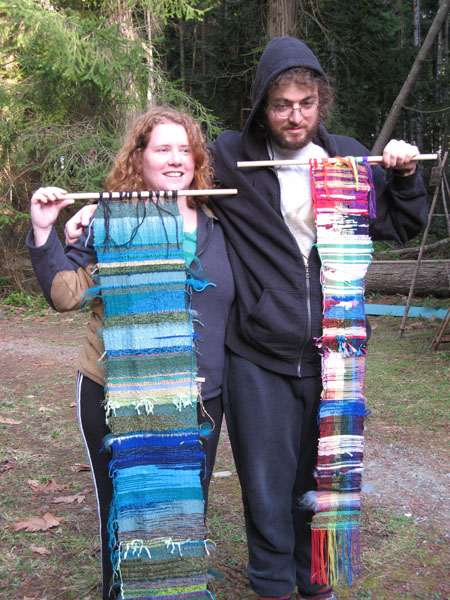
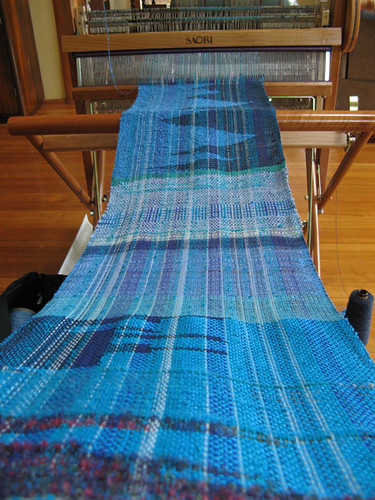
Here’s the warp colours – I have decided to take the ‘Waterfall’ idea and create the banner with a blue water warp – not sure yet where the weaving will go as that will evolve as I weave.

Waterfall

And some of the weaving so far ….

Waterfall

This part reminds me of the ‘Tide Tables’. As we live on an island, we are more aware of the tides, looking for chances to walk along the beach at low tide, etc.

Waterfall

Each part seems to be evolving with different yarns, different feelings, different parts of the ‘waterfall’…

Waterfall

I’ll keep you posted.

Happy Weaving,
Terri

My website: www.saltspringweaving.ca

Saori Salt Spring Studio

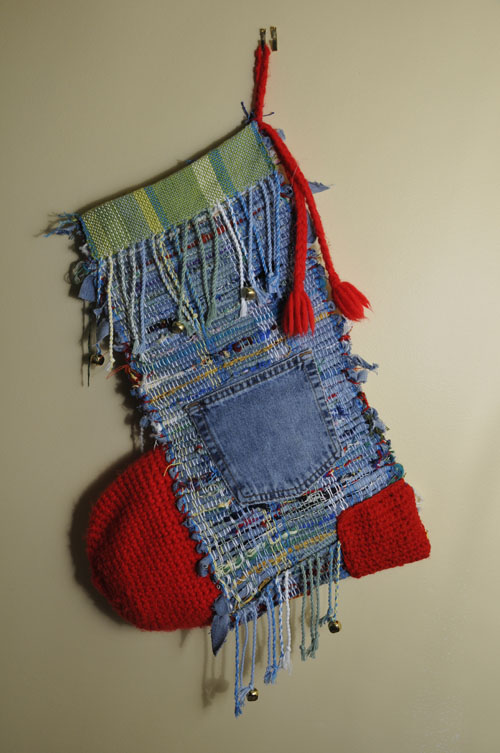
SAORI Christmas Stocking

A local store has challenged Salt Spring Artists to create ‘Green’ Christmas stockings to be auctioned off to support the Salt Spring Conservancy.

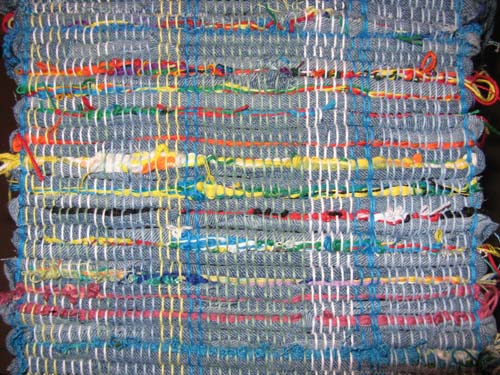
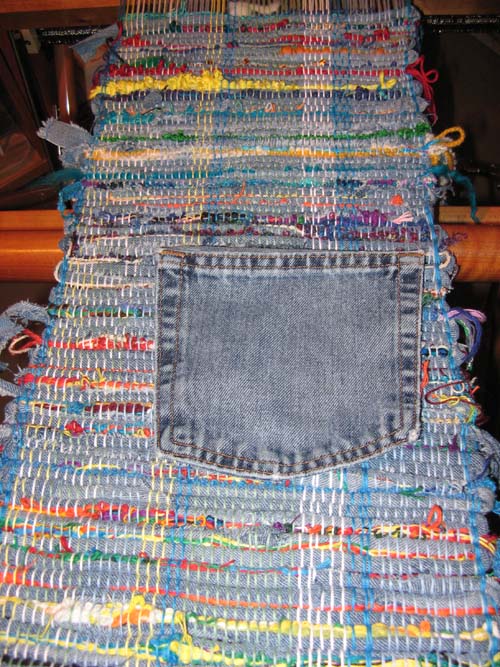
So, I took some denim jeans (that were no longer suitable for wearing – not even for the thrift store) and cut them into strips to weave with. I also put in some bits and pieces from my treasure baskets (aka weaving thrums – leftovers that would often get thrown away) to add some colour and texture.

Here is the weaving as it was progressing…

Recycled denim

I have also saved the pockets to attach them to the stocking…

Recycled denim

So, I had the (very heavy) pieces of cloth for the leg of the stocking, but what to do about the toe?

One day I was at the local thrift store with my cousin and she found a red hat with tassels – perfect size and great colour for the toe…


I added a crocheted red heel to match, removed the tassels from the hat to use as a stocking hanger at the top, added some bells from old Christmas gifts and decorations that I had saved and here it is completed…

SAORI Christmas Stocking

Happy Weaving,

Terri

My website: www.saltspringweaving.ca


The Salt Spring Fibre Festival has a Postcard Challenge

“This year the Festival is planning a display of post-card-size ‘samplers’ – created in any natural fibre, using any technique (woven, knit, crocheted, felted, quilted…), in any style, and illustrating any story a creative fibre worker could want to tell. This is a great opportunity to experiment on a small scale!”

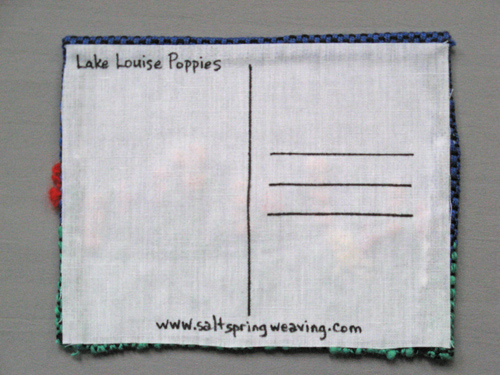
So, I decided to create Postcards for it. I wanted to take the “Postcard” part literally, though that was not a requirement, and wondered how to do the finishing. After trying a number of methods, I used iron on woven interfacing that I could write on for the backing.

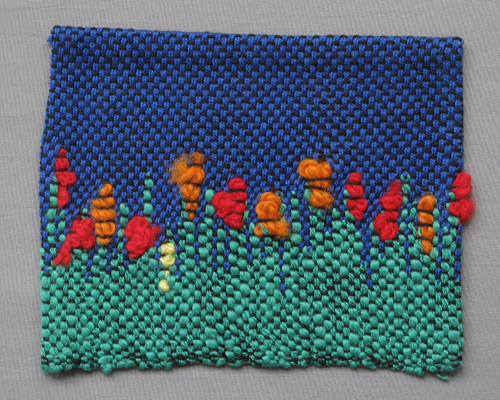
Lake Louise Poppies – the edge of Lake Louise has a beautiful array of poppies that I have used as inspiration.  The green stems are done in a clasped weft technique with bits & pieces laid in for the flowers.

The Postcards From the Edge theme came about when I started using the clasped weft coming in from the edge of the postcard. In creating the backing, I have left that selvage edge as woven to give the edge a more natural look.

My website: www.saltspringweaving.ca

The ends of the threads of the warp need to be finished in some way to secure the weaving. The easiest way is to tie knots in groups of threads, but you can also braid them, twist them, etc. These ends can then be used to tie together if you are making friendship bracelets, they could be decorated with beads, etc.

Some easy projects are bookmarks and bracelets, but you can also make keychains, ‘mug rugs’ (coasters), chokers, arm bands…..they can be sewn around the cuff of your favourite shirt or across the top of a pocket to add a nice trim – if you are doing this make sure that you use washable materials.

So, for those that were asking, I hope this series helps you. The looms are inexpensive to make, portable and great for group projects and learning the basics of weaving. The finished look depends on the material you use for weaving. Using a thick yarn makes the weaving go quickly, a finer yarn will pack in more and so take more time – but also give you a different look. Please let me know how you make out. I would love to see some projects that you make!

My website: www.saltspringweaving.ca

The next step is to weave. I used a blunt end tapestry needle bought at a yarn store – 4 to a package. Cut a length of any yarn that you want to use, thread the needle and start weaving…

Over and under each thread on the loom…

On the next row, over the ones you went under last time, under the ones you went over and so on as you start to weave. Use your fingers, the needle or a simple kitchen fork to press the threads down into place.

Of course the cat has to get in on the act…wherever there’s yarn, there are my cats!!

So, just keep weaving, changing colors if you want until you are at the other end…

Finishing and ideas for finished weavings on my next post….stay tuned…

My website: www.saltspringweaving.ca

The foamcore looms are easy to make and inexpensive. I bought a piece of foamcore board for about $3 and it made over 10 little looms. It is great for projects for groups, for children, for demonstrations, and so on….

Front…

Back…

The loom can be cut to any size depending on what you want to weave. Slits are cut along the top at evenly spaced intervals. These looms (shown) are threaded with a black cotton yarn. I have started in the middle of the back and looped the yarn around, securing it in the slots, and then finished by tying it in the middle of the back. The weaving is done on the front of the loom – using a tapestry needle.

My website: www.saltspringweaving.ca