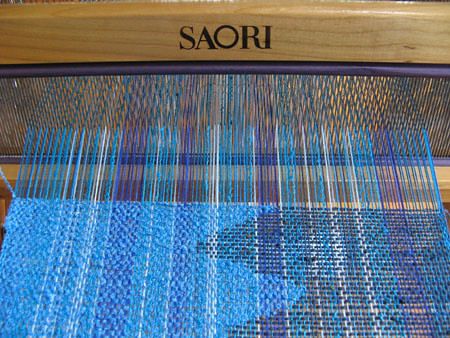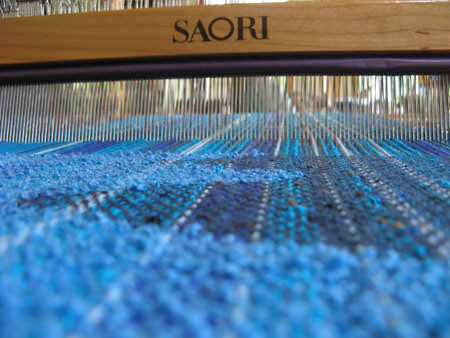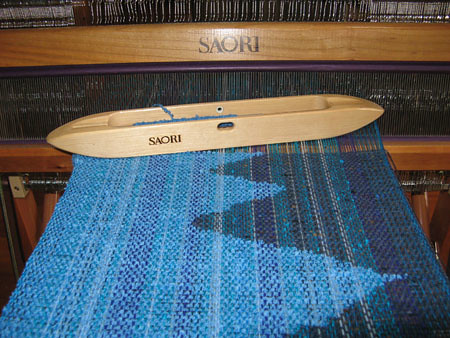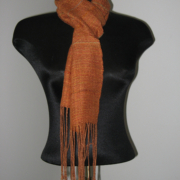
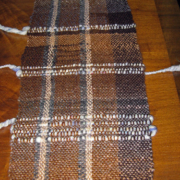
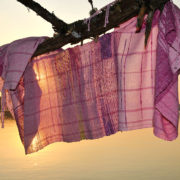
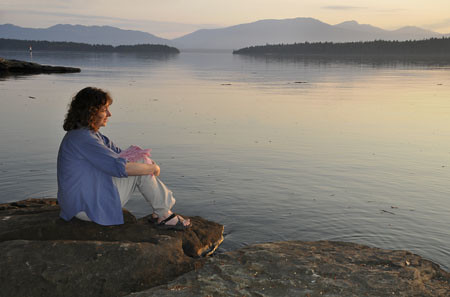
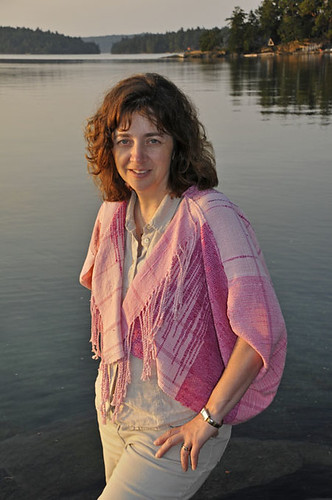
I took a break from weaving my Directions banners to weave a scarf for my mom’s birthday. When she was here last she chose a yarn that she wanted for the weft of the scarf – it was a beautiful Umaj sock yarn (merino wool and bamboo) from Gaia’s Colours. For the weft, I chose silk yarn from Treenway Silks which was great as I haven’t worked with silk before.
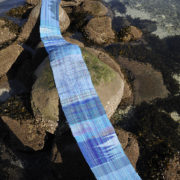
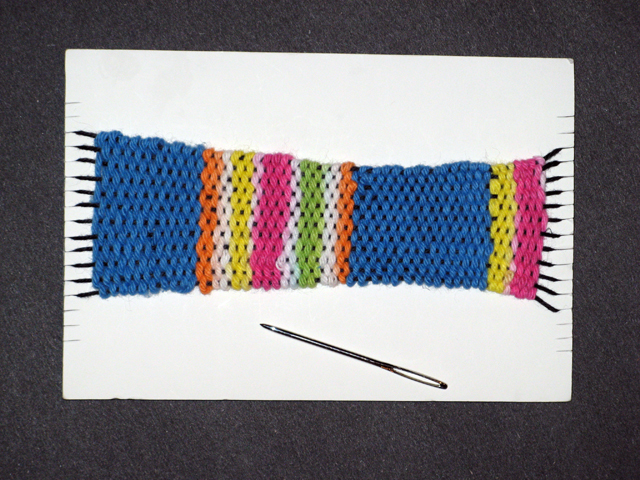
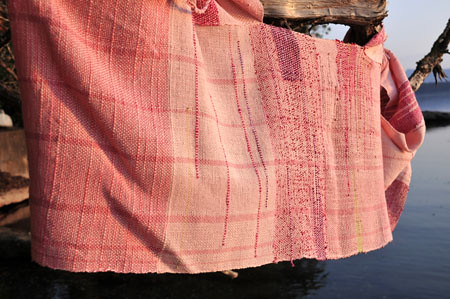
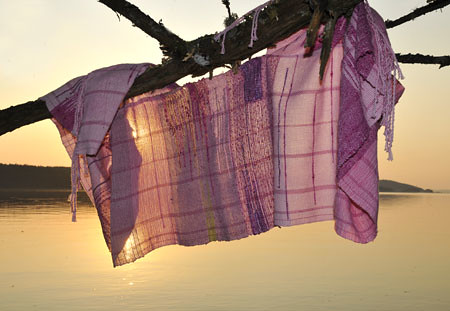
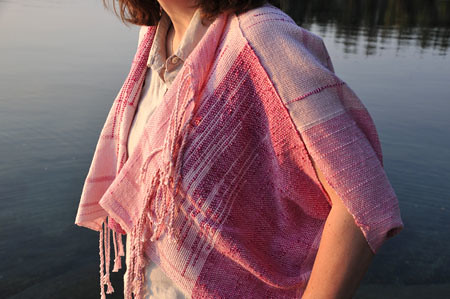
Here is the finished scarf…
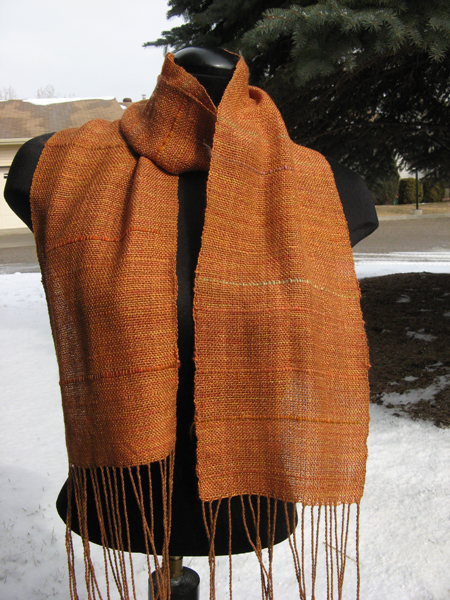
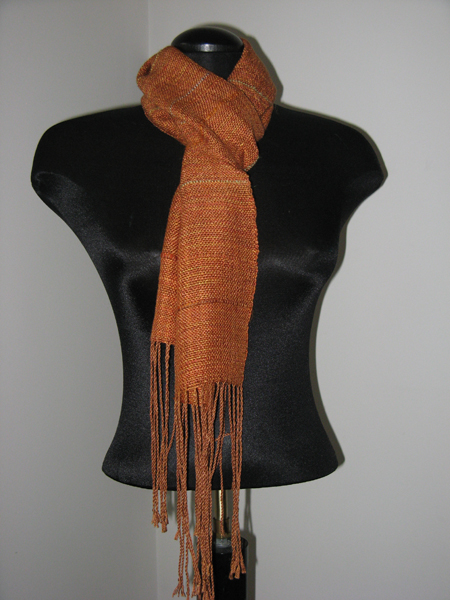
It is so light and has a wonderful feel from the great yarns.
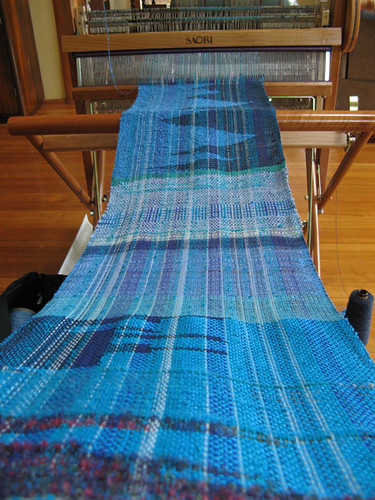
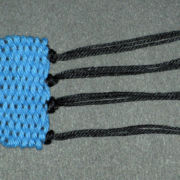
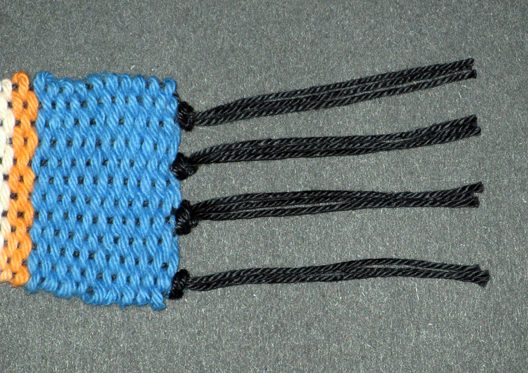
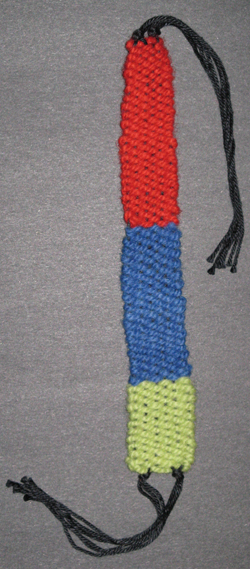
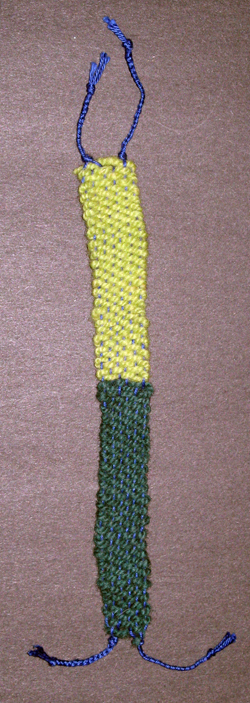
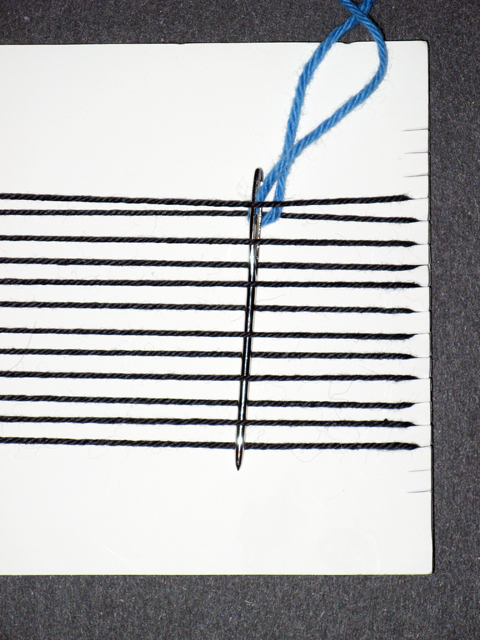
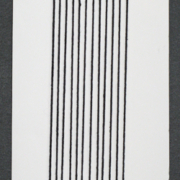
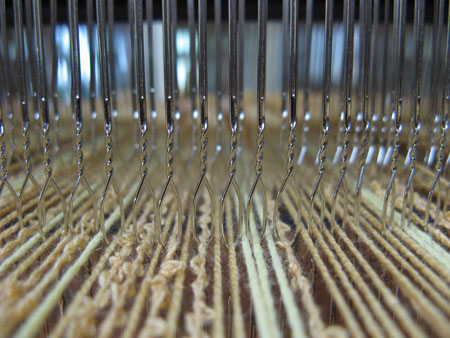
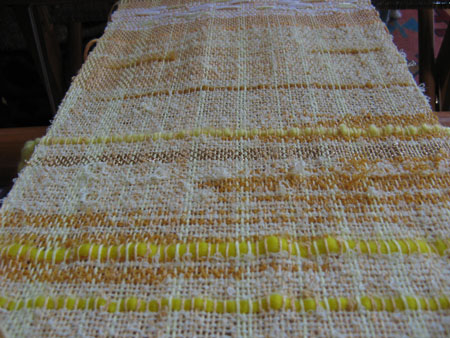
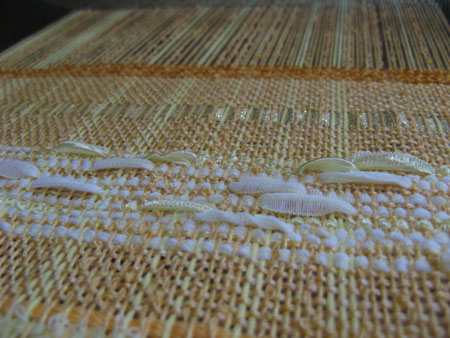
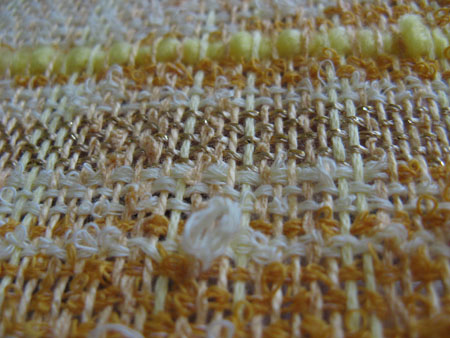
And now, I’m back to my Directions series with East/Yellow. East represents new beginnings, childhood and spring. The warp is wound and ready to go…

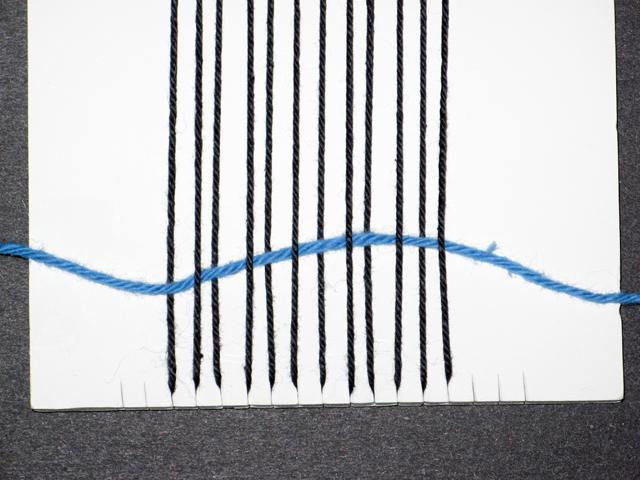
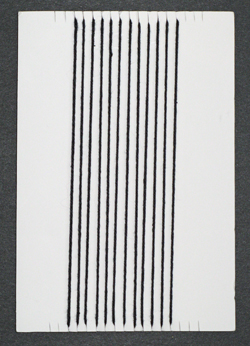
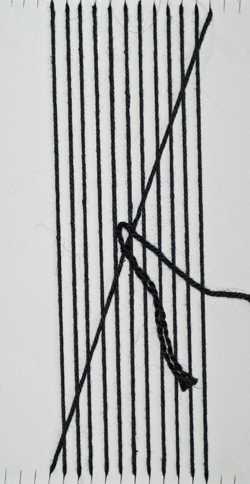
And the weaving begins…
Happy Weaving,
Terri
My website: www.saorisaltspring.com


 t
t