Cashmere Yarn

SAORI Weaving with Cashmere Yarn

Weaving with cashmere yarn is a beautiful and delicate process. Cashmere’s fine fibres make soft, lightweight, and warm textiles. They are light as air, yet soft, cozy and warm!

SAORI weaving is a great way to work with cashmere. Here are some tips to help you get the best results when using cashmere yarn in SAORI weaving:

Setting up Your Loom

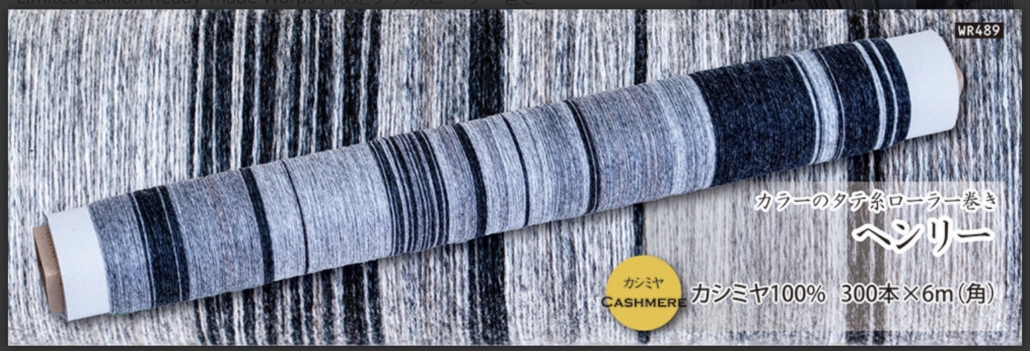
  • Warping: Embrace the SAORI philosophy by warping your loom in a relaxed way. You can make your own warp or purchase one of the limited edition pre-wound cashmere warps.

  • Cashmere yarn, SAORI prewound warp
  • SAORI Cashmere Prewound Warp
  • Set Up Your Loom: Cashmere can be delicate, so ensure the tension isn’t too tight.

  • Mixing Colors and Textures: Incorporate other yarns, fibers, and textures into your warp for added visual interest. Cashmere weft on a cashmere warp is the ultimate in luxury. Cashmere and silk work very well together and you can get variable shrinkage, so a nice textural interest. Cashmere can also be woven on a cotton warp for a nice effect.

Weaving with Cashmere

  • Cashmere yarn shines in plain and simple weaves, which emphasize its softness and natural beauty. SAORI is a natural for this.

  • A light beat creates a lightweight fabric. This allows the softness and drape of cashmere to shine through. It makes the fabric ideal for scarves, shawls, and lightweight wraps.

  • Cashmere fibres can break with abrasion, so minimize rubbing against the heddles and the reed. Advance your warp often to reduce wear on individual threads. A gentle beat is ideal; cashmere doesn’t need a strong beat. Always use gentle handling when working with cashmere.

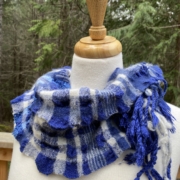
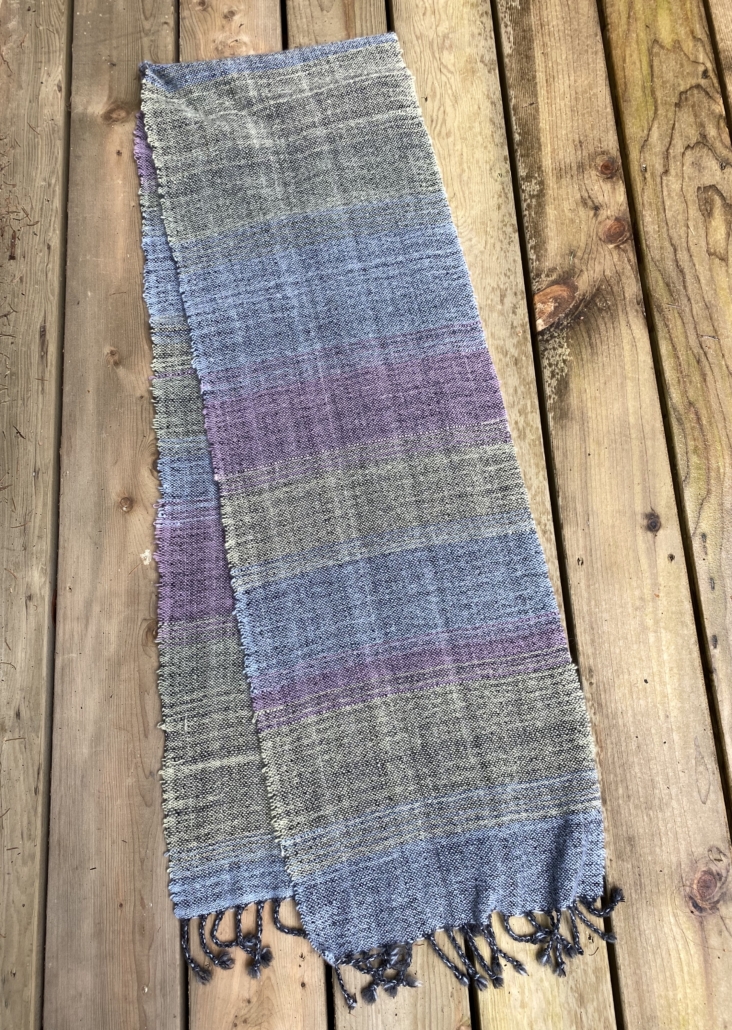
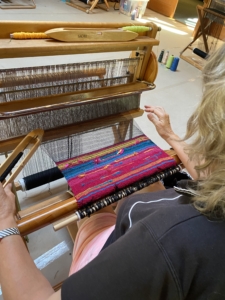
Cashmere yarn. Warp and weft

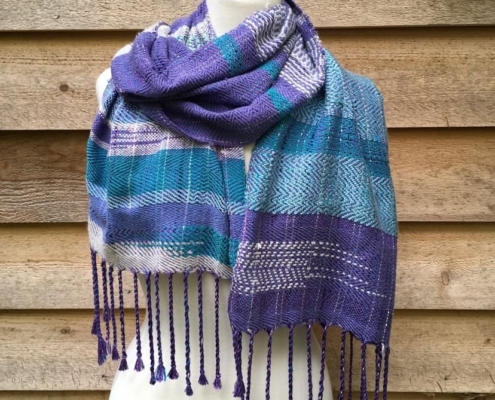
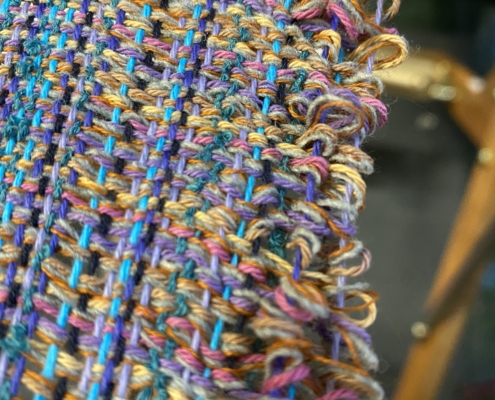
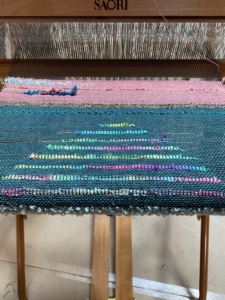
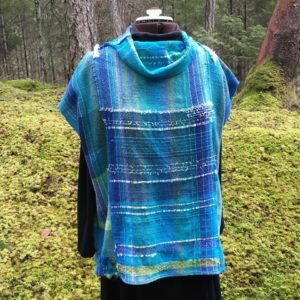
Cashmere warp and weft – warp is mix of blacks and grey, weft is pastels – light as air!

Finishing Techniques

  • Before washing your weaving, secure the ends by knotting the fringes together in any size groups. You can vary the sizes for an interesting look. For scarves or shawls, twisted or braided fringes also add a nice finish.

Wet Finishing Cashmere

  • Cashmere yarn transforms with wet finishing, becoming loftier and softer. Wash your finished weaving in warm water in the washing machine with a gentle soap such as Euclan, no harsh detergents for cashmere! This process allows the fibres to bloom and achieve their signature softness. Hang to dry (in the sun if possible). DO NOT dry in the dryer!

Cashmere Yarn

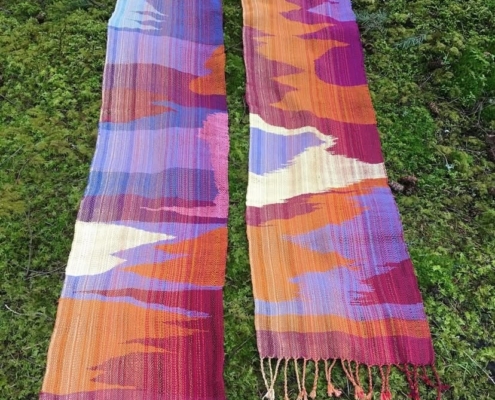
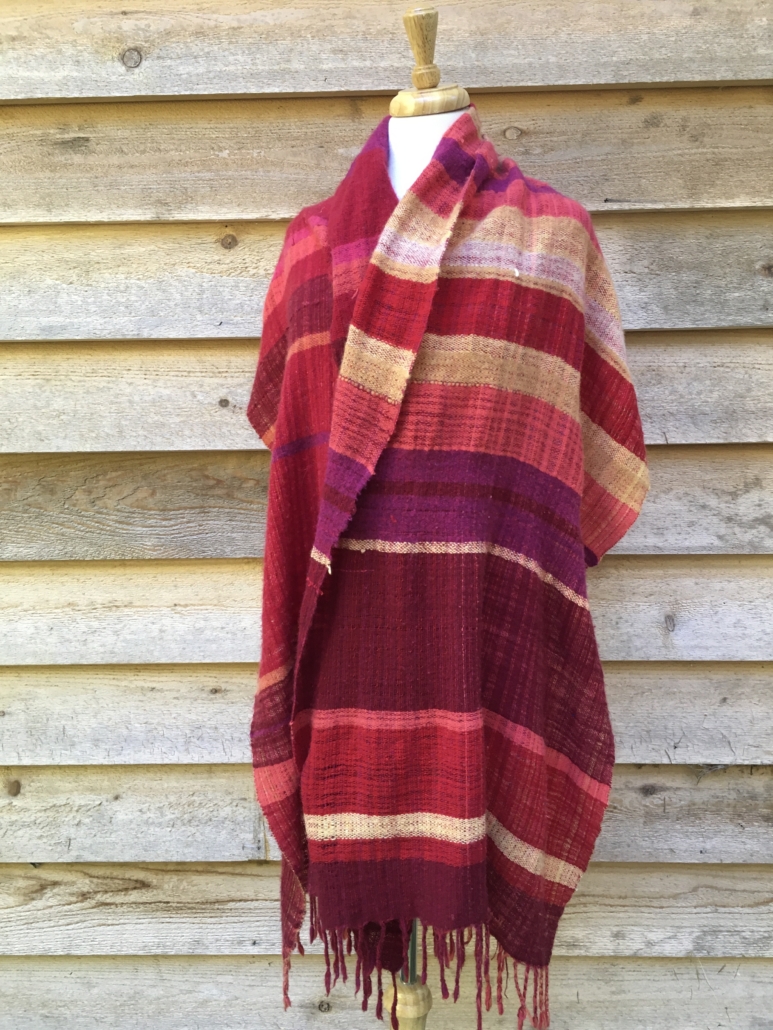
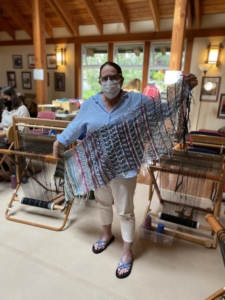
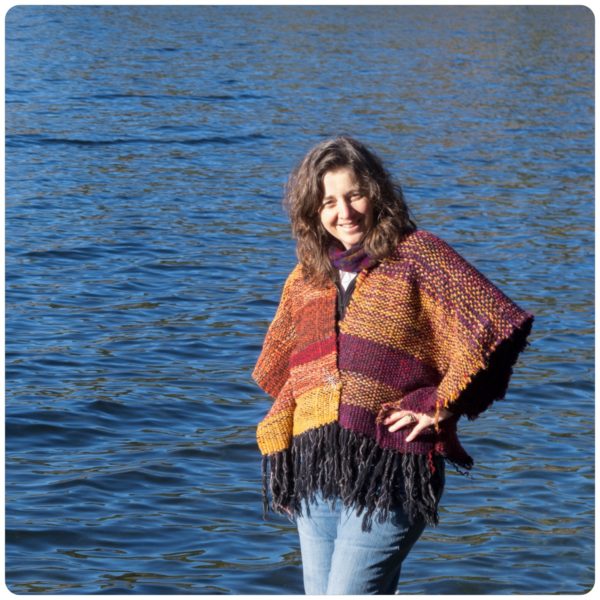
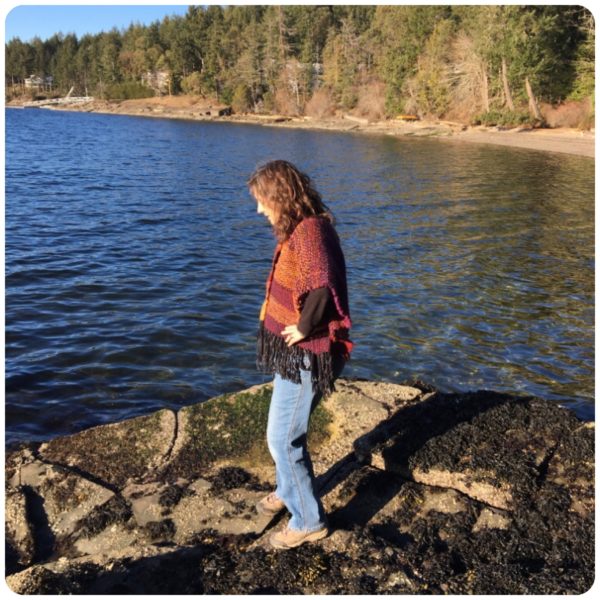
Cashmere shawl – cashmere yarn for warp and weft

Maintaining Your Cashmere Weaving

  • Washing: When caring for your finished cashmere garments or scarves after the initial wash, hand wash in lukewarm water and dry flat to preserve their softness and prevent pilling.

  • Storage: Store woven cashmere items folded in a cool, dry place.

Weaving with cashmere yarn can yield luxurious, cherished textiles that drape beautifully and feel incredible against the skin. Taking these extra steps to handle it gently will make all the difference in your finished piece. By using these tips, you can make beautiful woven items with cashmere.

SAORI weaving is as much about the journey as the finished product. Take your time, enjoy the tactile nature of cashmere, and let your creativity shine.

Ready to start creating with cashmere? Browse the limited edition supply of beautiful SAORI cashmere warps and the wide variety of cashmere yarns from SAORI Japan in our store.


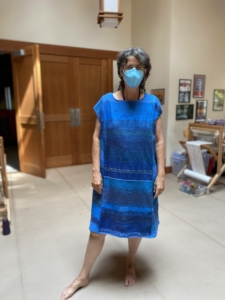
Cashmere Yarn

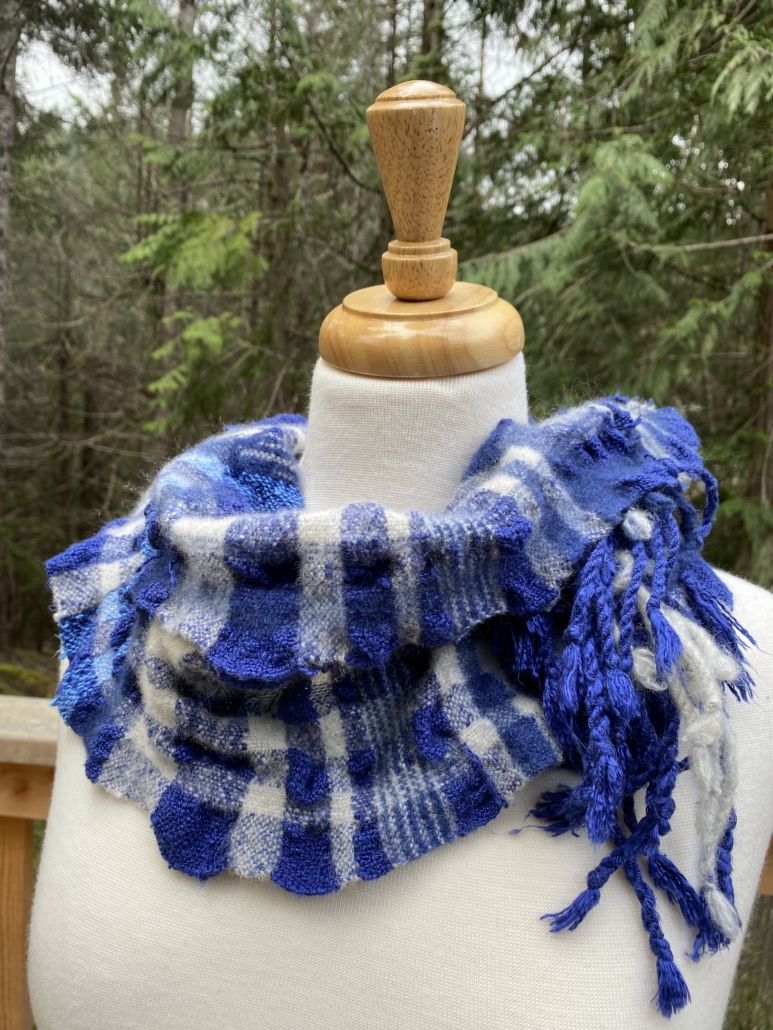
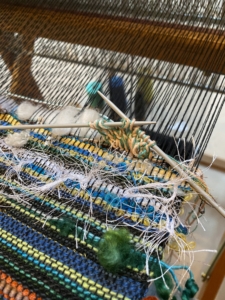
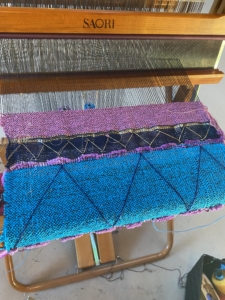
Cashmere and Silk – variable shrinkage

Happy Weaving,

Terri

In our SAORI Study Group, our most recent prompt was “Reedless Weaving” – weaving without a reed.

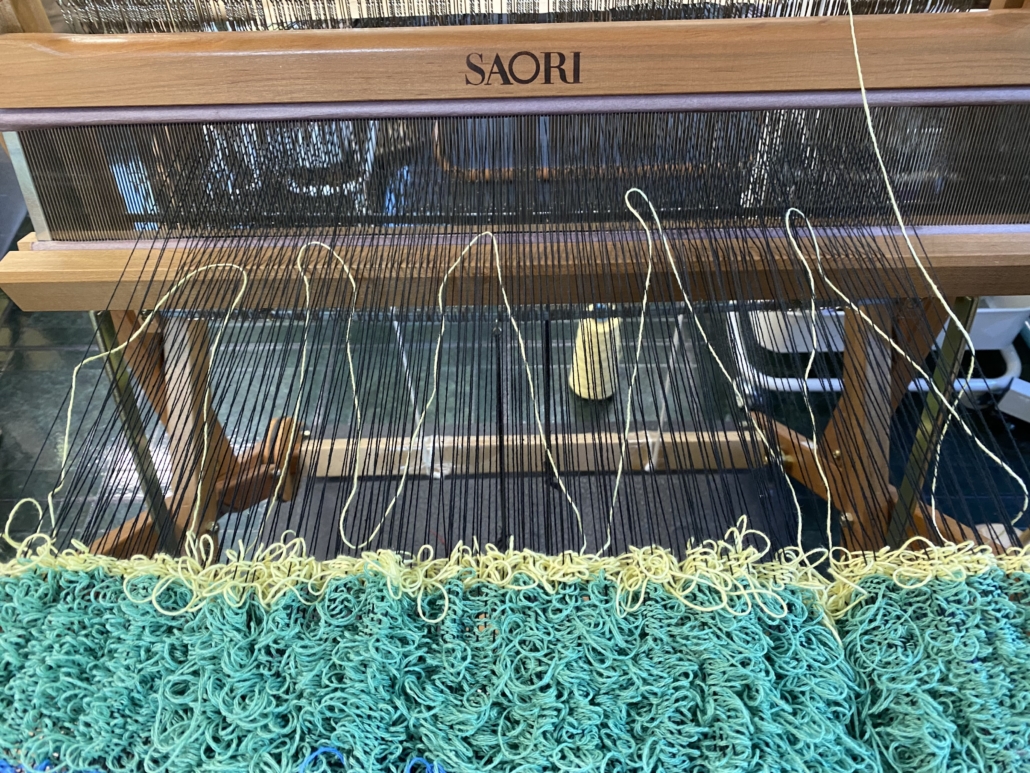
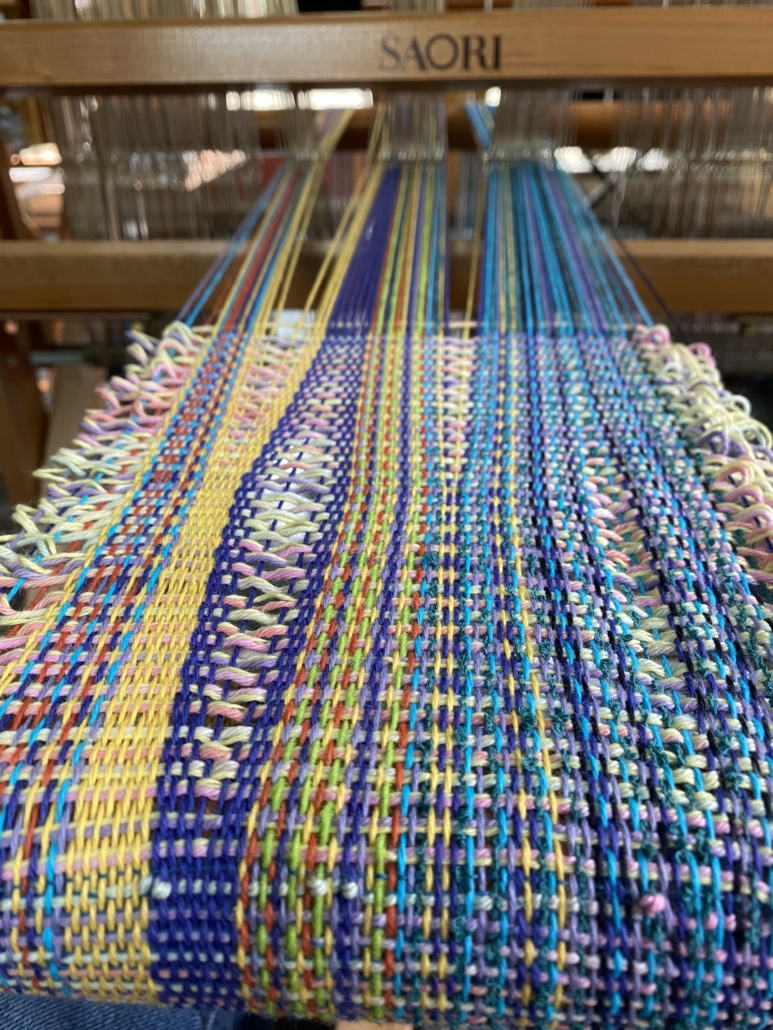
In this type of weaving, the warp is still threaded through the heddles, but there is no reed. Because the reed is missing, there is nothing to keep the warp threads straight and in line. This means that the warp can be moved around while you are weaving. This allows you to change the sett of the warp – putting areas closer together and further apart and changing it as you go. So much fun!

colourful warp

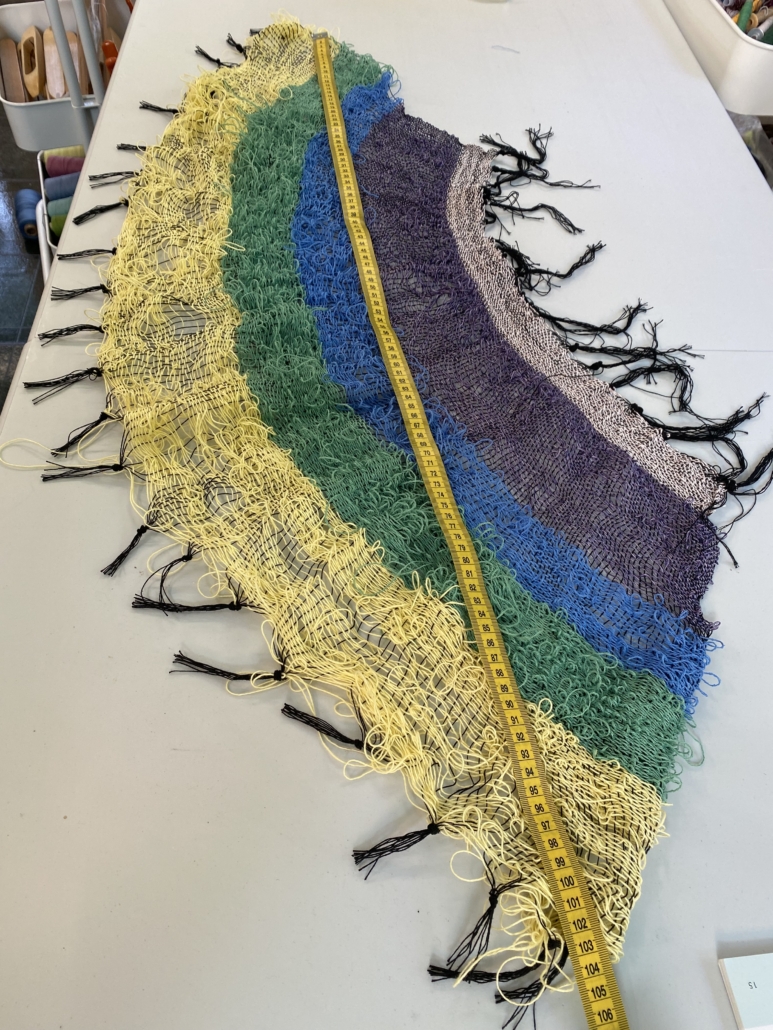
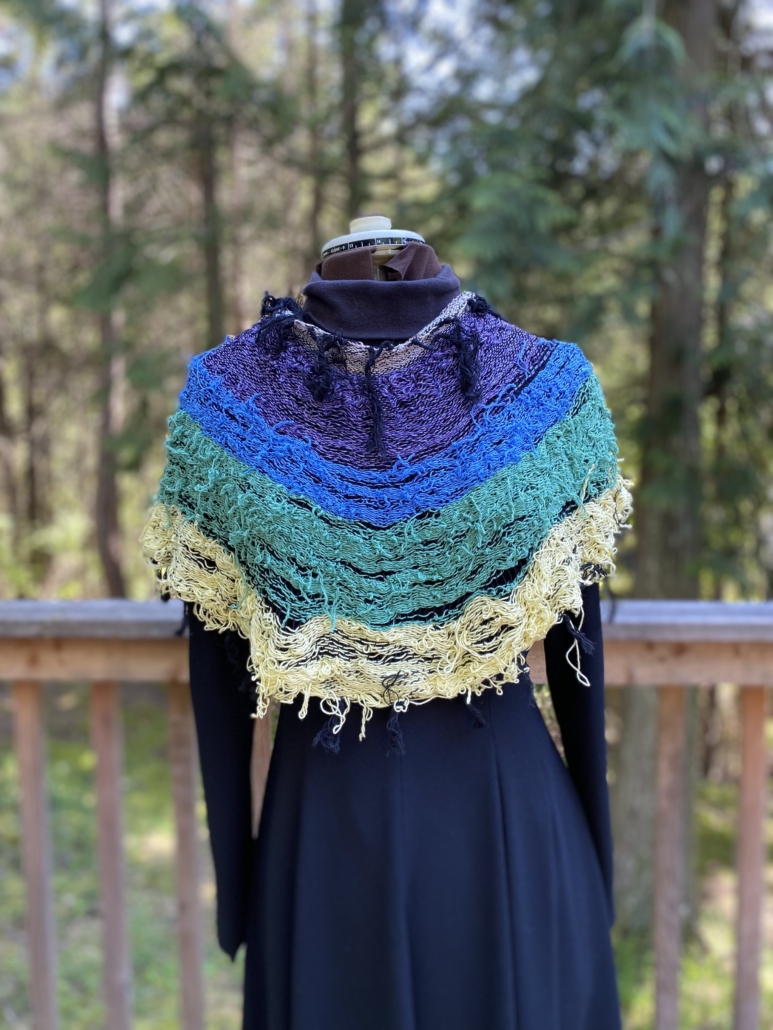
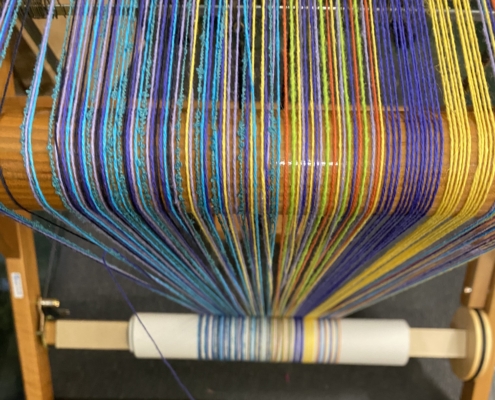
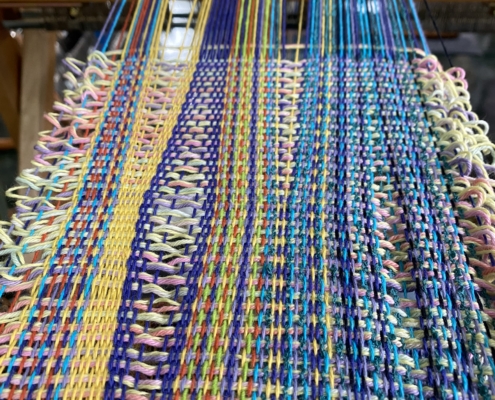
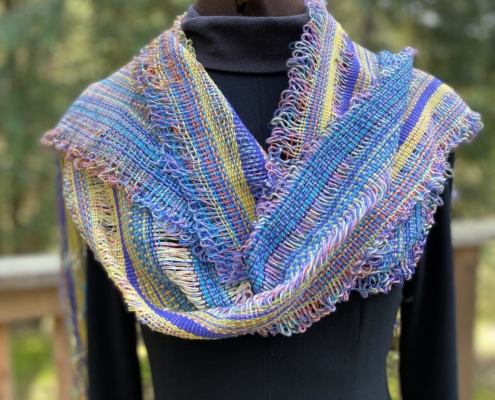
This warp was made as a demo warp during a warping retreat, random colours were selected as we were winding it.  A demo of  making stripes gave us a purple stripe and a yellow stripe too.  Wow – a bright warp for me.

So, without the reed, the heddles are clipped (I use quilting clips) on both sides of the opening to keep the space open.  With no reed, hence no beater, you need to use either the shuttle or a comb to beat the weaving.

reedless weaving

Opening and closing different areas.

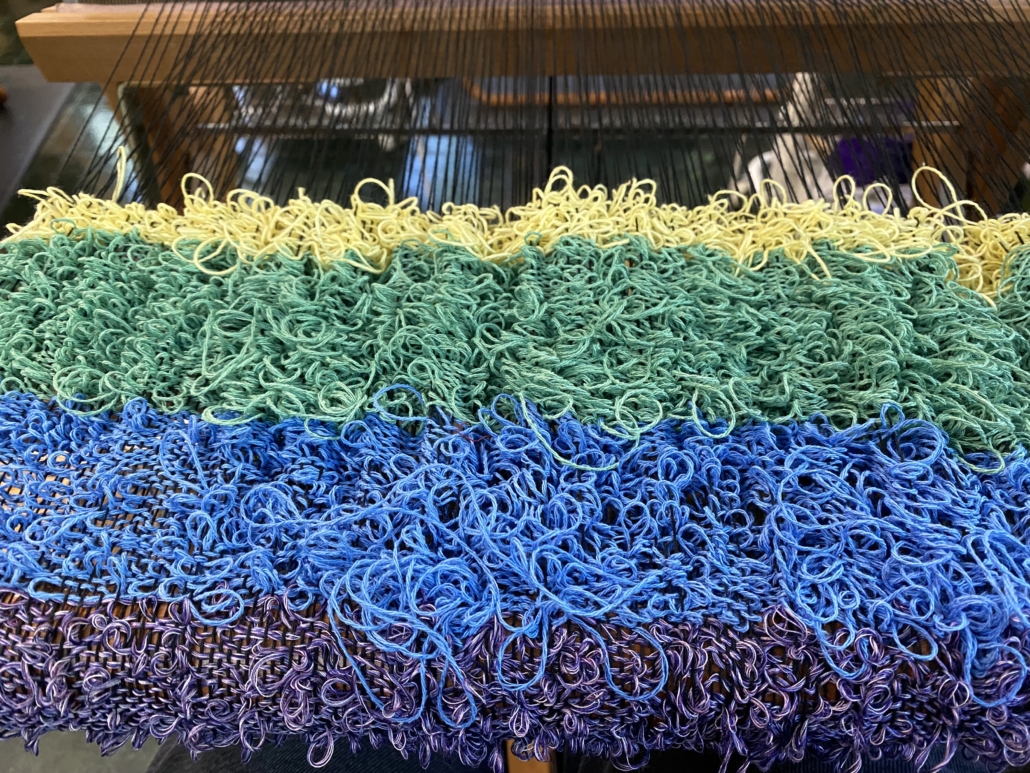
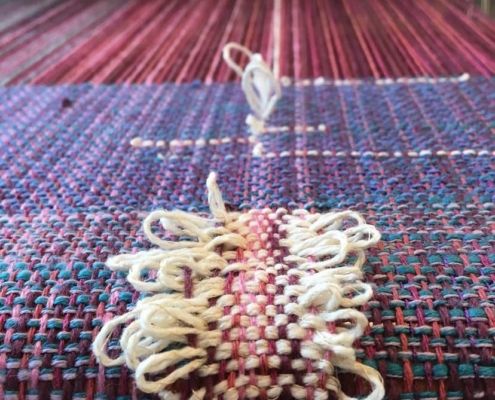
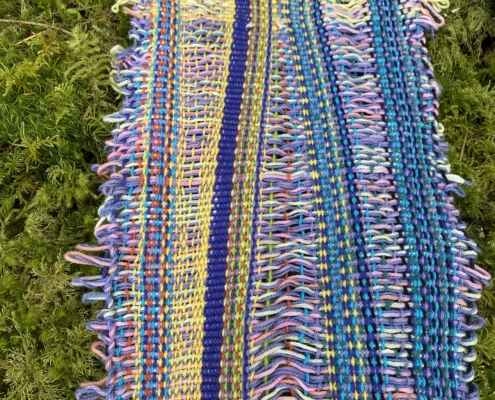
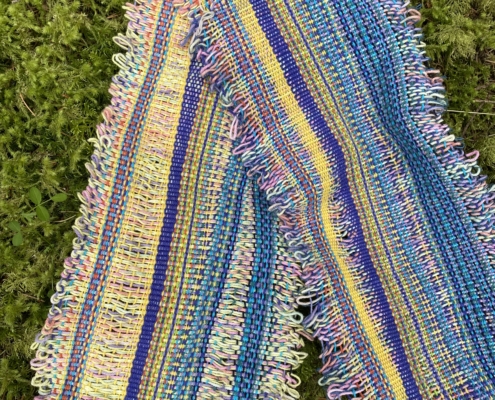
You’ll notice that the edges end up very loopy, almost like a ruffle.  This is because there is no reed to hold them in.  If you ever want to get over worrying about edges/selvedges – just try reedless weaving!

loopy edges

I used variegated yarn and wound it with a solid colour yarn – changing the solid colour each bobbin to give some variation.

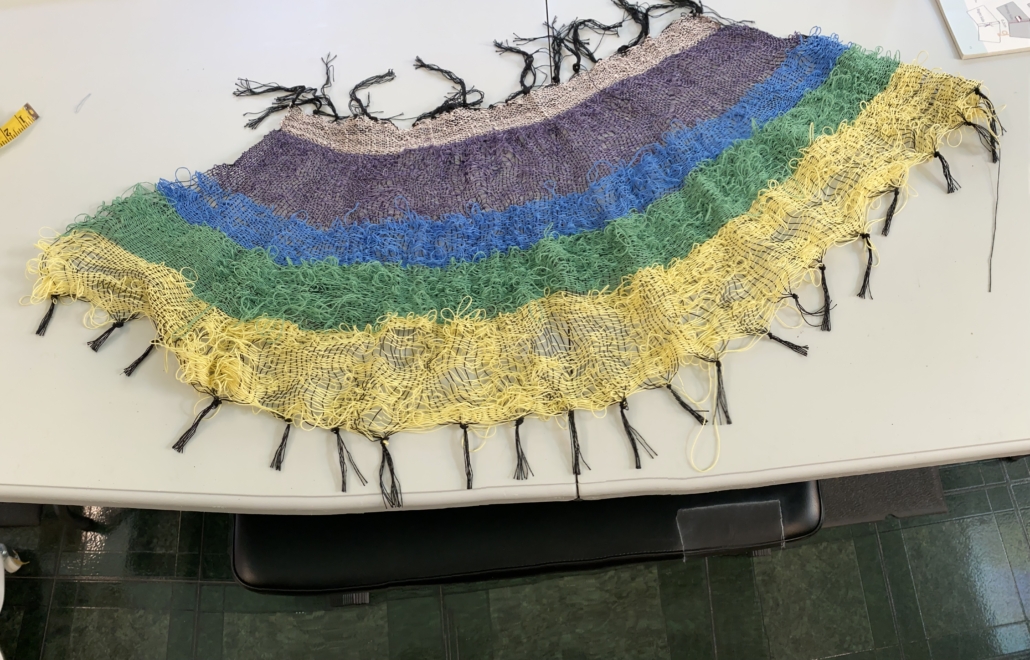
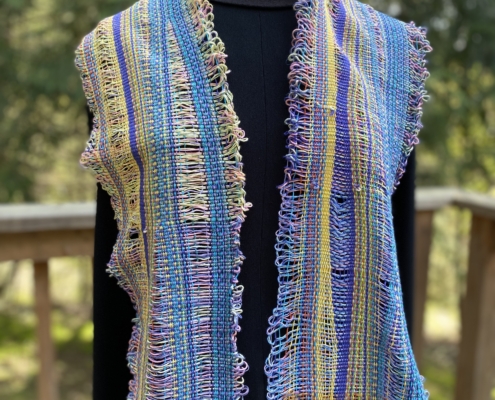
I’m pretty happy with the result.  These photos before washing…

And after washing…

reedless weaving

A nice cotton scarf for Easter.

Happy Weaving,

Terri

Are you searching for a colourful afternoon of artistry and craft?

Travelling the islands of coastal BC is an inspiration to your inner artist. The rich colours and whimsical weather patterns are a muse to local artists.Locals love to capture this ever-changing landscape through a variety of mediums. 

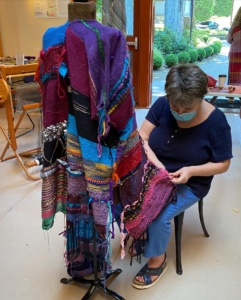
Weaving is an enjoyable craft that beginners and artists of any aptitude can venture into easily. With the help of a guide and a ready-set loom, you can create your own hand-made souvenir. 

SAORI Weaving Workshops on Salt Spring Island are a natural vacation activity. Our studio in the woods is a great place to get quiet and hear the inspiration from within. Explore weaving as a meditation or as a fun group social activity. The SAORI tools, yarns, warps, books, equipment are here for you to try and SAORI handwovens to inspire your new or next project.
Contact us today to book a Beginner Weaving Workshop on Salt Spring Island: 
  • Private Lessons: Weave something beautiful to take home with you in a 2-hour class, whether you have woven before or not.  A few simple instructions will get you started. There are endless possibilities to explore. Visit our bookings page.
  • Group Lessons: Designed for families, friends, vacation activity, business/corporate team building, inquire for a custom workshop. 

Metchosin International Summer School of the Arts

It was so wonderful to be back to MISSA this year!  Instead of the workshop being held in Metchosin, the venue was moved to Shawnigan Lake School – another beautiful campus.

MISSA at Shawnigan Lake School   MISSA at Shawnigan Lake School MISSA at Shawnigan Lake School SAORI Weaving Adventures

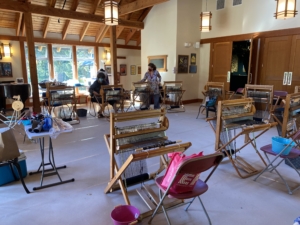
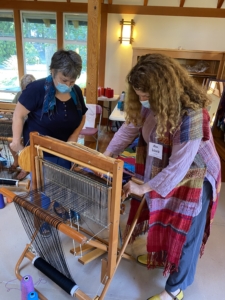
I taught a 5-day SAORI Weaving Adventures workshop with 10 enthusiastic people and 2 assistants – Laura Roveda from SAORI Studio LA and Lynn Jones who has been weaving and designing in the SAORI way for 10+ years.

MISSA SAORI Weaving Adventures   MISSA SAORI Weaving Adventures

The class was a great mix of people who hadn’t woven before, people who had woven but not tried SAORI weaving and others with some years of SAORI weaving and a whole pile of cloth to design with.  In SAORI weaving as “We inspire and learn from each other in the group” this mix was great – and everyone contributed to the overall learning and ideas.

SAORI Weaving Adventures   SAORI Weaving Adventures   SAORI Weaving Adventures   SAORI Weaving Adventures    

There was weaving, clothing design, a short demo of warping and Bengala Dyeing and much fun.  It is always great to see the weavings as they progress from cloth to clothes, bags, wallhangings and more!

MISSA SAORI Weaving Adventures     MISSA SAORI Weaving Adventures   MISSA SAORI Weaving Adventures   MISSA SAORI Weaving Adventures    

These are just a few photos from the week.  If you want to see more, please visit my Instagram or Facebook page.

Happy Weaving,
Terri

Thanks to Mihoko at SAORI Worcester for putting together these fun Fashion Shows on YouTube.

Great inspiration for Clothing Design!

Fashion Show 1

Fashion Show 2

Fashion Show 3

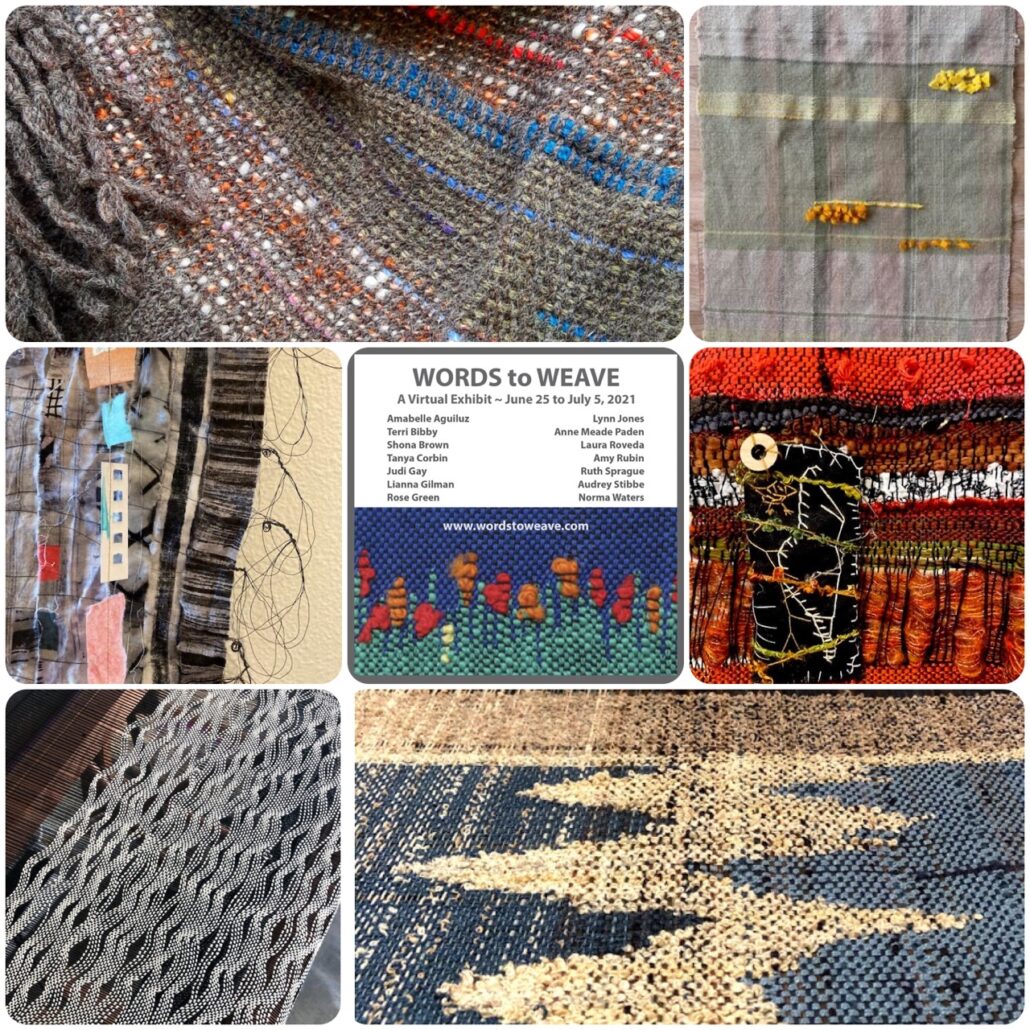
Words to Weave


During the time of COVID, in person classes, exhibits, festivals, etc. have been shut down.

One day when I was out for a walk, an idea came to me to hold a Virtual Exhibit.  So, “Words to Weave” became the theme.  I wondered how many people might be interested in this topic and who would submit items for this exhibit.  When I put out the call, I was so happy to receive a positive response.  In all, 14 artists contributed to this show.

Once I started receiving the entries, I had wished that it was in person.  It is so different to see an image instead of actually seeing and touching the cloth.  However, the words and the weavings that were submitted were so inspiring, moving and touching.  As is the SAORI way, each entry was so unique.

Here was the idea:

Are the words to a poem, quote, story or song inspiring to you?  Or perhaps the words of a child or some words from Misao Jo’s writings?

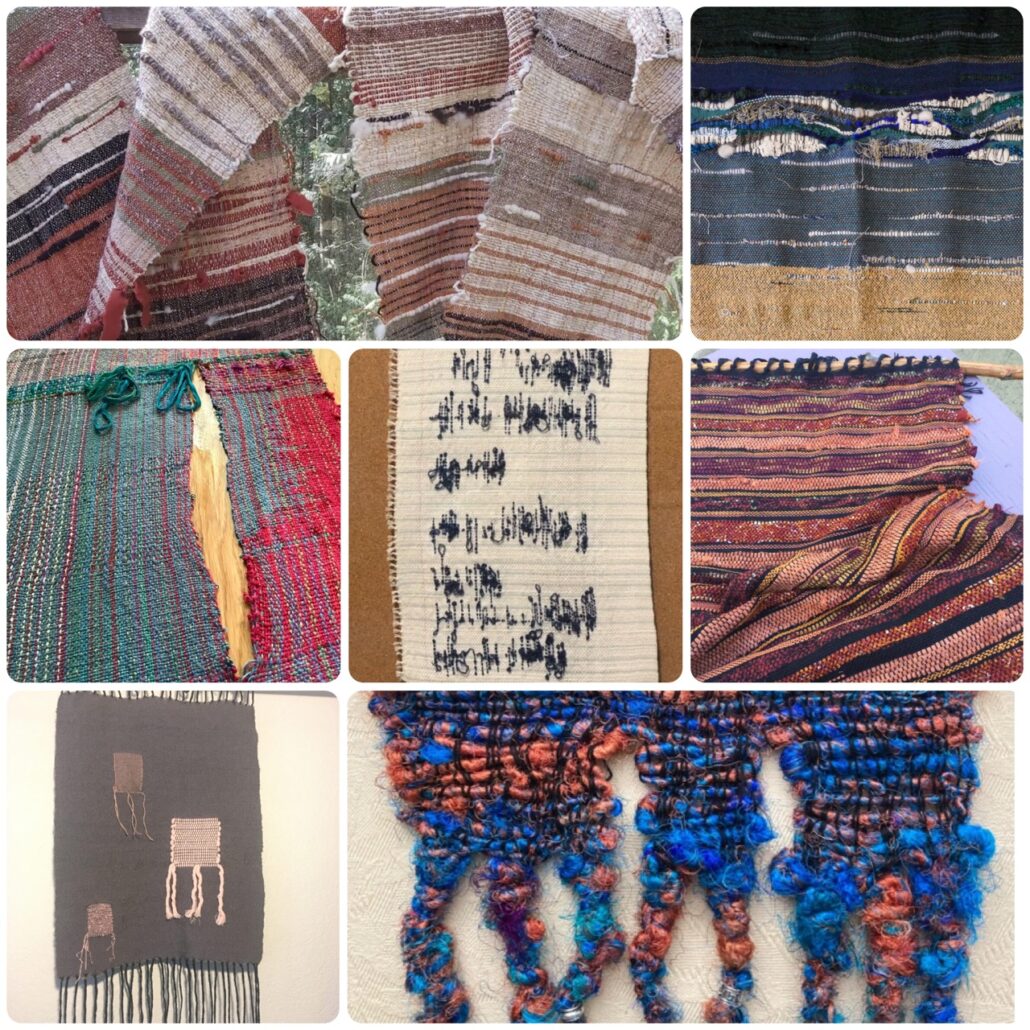
These are the SAORI weavings of 14 artists who have used words as inspiration. View all the details on each artist’s page  on the website Words to Weave.


I hope you enjoy viewing these explorations!  The exhibit remains posted for now – even beyond the original dates.

A new Artist’s Call will be coming this Fall.  Stay tuned for details.

Happy Weaving,

Terri

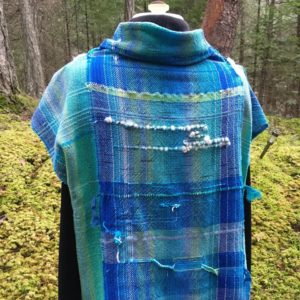
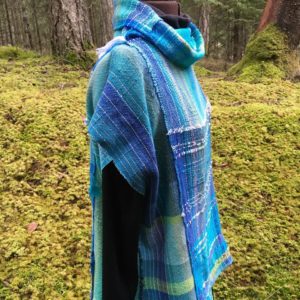
My newest cowl neck top in colours of Salt Spring and the Salish Sea in summer.

My favourites.

Mainly cotton.
Based on pattern 8 in the Black Book – Shitate no Hon.

Cowl neck.

This weaving was completed some time ago and I finally made this top, inspired by a different cowl neck top by Lynn (Pattern 7 in Shitate no Hon).
Happy Weaving,

Terri

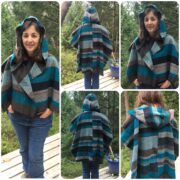
The fabric for this vest is quite thick and heavy. The weft is 3-4 strands of wool wound together on a bobbin and I used lots of colour blending.

The warp was 10 thin threads of wool per dent and heddle (yes all put together to be like one thicker thread) and then 2 individual thin grey threads in the next two dents and heddles (more or less) so there are ridges in the warp.

I had this fabric for a while before I decided on it’s final form. I put two panels together sewn at the back and left the front open. Then I sewed the sides, but not at the edges as in the Y vest in the Beginners book. With these seams it makes the vest more form fitting, but loose at the same time if that makes sense.


Cozy and warm for a cool day.

SAORI Weaving and Clothing Design
When I first looked at this cloth, I thought I would make it into a simple top or vest with the white bands down the front. I cut the cloth in half and pinned it, and didn’t like it after all. Now what?

I browsed through the pattern books to get a new idea and saw the Triangle Blouse and so just turned the pieces on an angle – and I liked it so much better. So, I made the triangle blouse (SAORI Beginners Clothing design book – pattern 4).

SAORI Weaving and Clothing Design

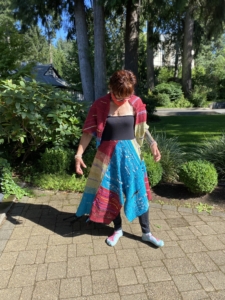
My cloth was not the dimensions given in the book, but I just worked around that. The front is a little longer, the back a little shorter, but in truth it can be worn either way. Easy to make – just 4 seams – shoulders and sides, but a whole different look with the cloth at an angle.

SAORI Weaving and Clothing Design

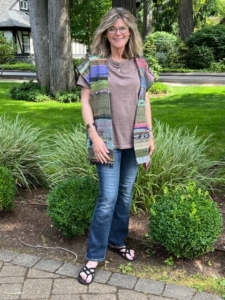
I had a bit of cloth still from this warp and I made it into a simple vest with straps.

SAORI Weaving and Clothing Design

I want to share some of the things I’ve made based on some patterns in the SAORI books. I say “based on” as nothing I make follows the pattern exactly. Each cloth, each person and so each piece of clothing is different.

My variation here is using 1 1/2 widths of the cloth I had on hand. I did this so that it would fit without being a short crop top. I put the extra half on the top on the front of the vest and the half width on the bottom at the back (scroll through photos to see). On the neckline, instead of a straight boat neck, I cut the fabric in half again and overlapped it a bit to make a simple open v-neck.

I have no specific measurements for this. It is based on the cloth on hand and on the person.

Easy to make. Colourful. Fun to wear.

I remember being in Hawaii with Kenzo-san as the Beginners book was being considered and his thought of how to encourage people to make their cloth into clothing. And to make it simple. He said “pick your placemats up off the table and sew them together at the shoulders and sides – a Placemat Vest!” So this became the first “pattern” in the book.

Based on SAORI Beginner’s Clothing Design book, pattern 1 with variation